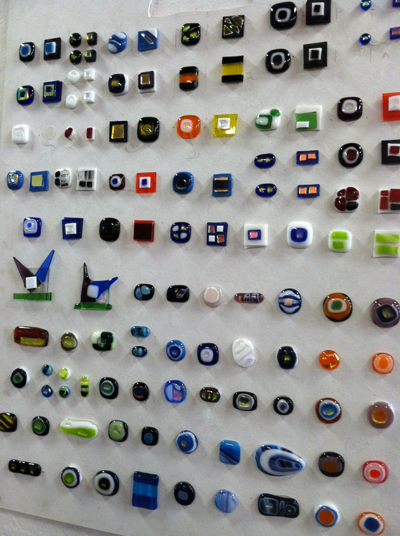
Having had a complete BLAST at Luke Adams Glass when my sister and I went for a fused glass jewelry class a while back, we both decided that we absolutely HAD to go for a glass-blowing class, as well. Since Luke Adams Glass appears to participate with all of the various group-buy vendors (Groupon, Living Social and Amazon Local being the ones I’ve seen), it’s a pretty easy and low-cost way to get in on a class. Our deal was $85 for two people doing a one-hour glass-blowing workshop (which typically runs $90 per person).
The only rules were to wear cotton clothing and closed-toed shoes, so even though it was one of the hotter days in early June, we strapped on the warmer clothing and left our sandals at home. We were offered the option of making any one of three items: a pumpkin, a paperweight, or an ornament. My sister immediately went for the pumpkin and I decided to go for the paperweight, having fallen in love with a really cool looking paperweight that had a flower or a tornado of color trapped inside clear glass. We were each offered dual colors – so my sister chose lime and teal (for the pumpkin and stem, respectively) and I chose blue and violet for my flower.
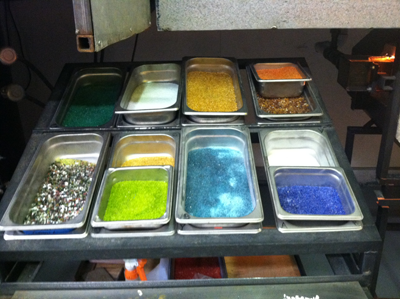
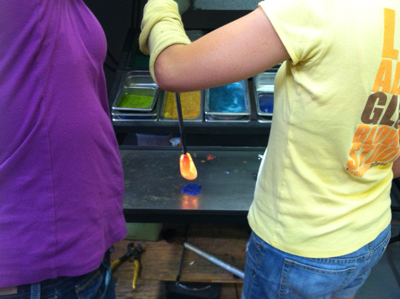
Some of our color options
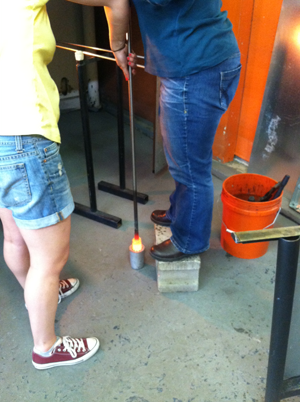
My sister went first: the initial step being that she had to get hot glass on this very long metal wand. She placed the tip of it into an exceptionally hot oven that contained nothing but glass. She then brought it out and rolled the wand on a stand that helped cool the center of the wand as she rotated it – effectively keeping the glass from cooling in an oddball shape at the far end of the wand.
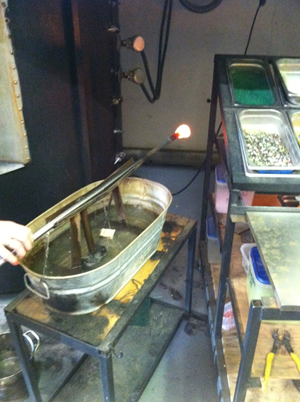
Cooling off the wand
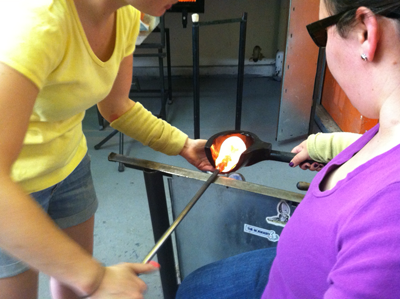
A few dips into the lime coloring on a tray, and off she went to put the tip end of the wand into an oven that did nothing but blast HEAT onto the glass to merge the color with the glass. All the while, she’s turning, turning, turning, and feeling tremendous heat. Our instructor then briefly borrowed the wand from my sister so that she could lengthen the glass in preparation for shaping the pumpkin.
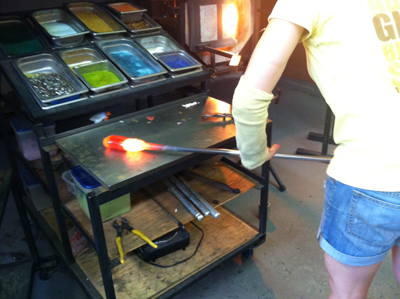
Our instructor, lengthening the glass prior to pumpkin shaping
After a little while, the instructor and my sister upended the wand and put it, tip-first, into a mold that impressed the grooves that would help define the pumpkin shape, then my sister sat at a bench and continued to turn the wand while I blew air into the far end, giving the pumpkin the air needed to get its shape.
Shaping the pumpkin in the mold
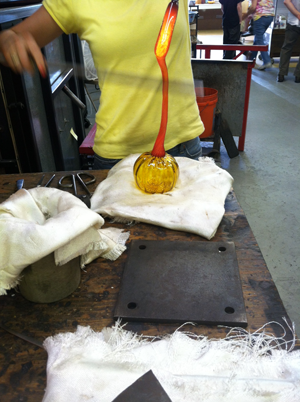
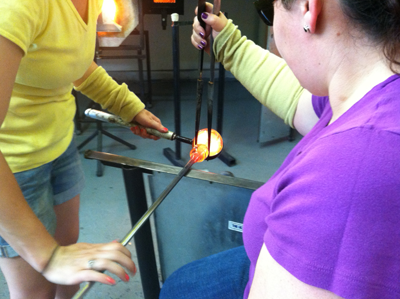
Once the pumpkin shape was fairly well set, the wand and pumpkin were moved over to a bench and my sister got to use a torch to keep the top of the pumpkin nice and warm while our instructor quickly made the stem.
The pumpkin awaits its stem
Making the stem was basically the same process as what was done for the pumpkin except that it was done at a much higher rate of speed and she wound the stringy, grooved, teal concoction around another metal wand to create the shape of the stem. Once that was done, the gorgeous pumpkin – still glowing hot – was carefully moved to a special oven that slowly brings the glass items down from 950F to room temperature over the course of several days in order to keep them from shattering as they cool. (Without this special oven, the outside of the glass would cool while the hot inside continued to expand…and you’d end up with a lot of very pretty colored glass EVERYWHERE.)
The shaped glass for the stem is dropped onto the pumpkin…
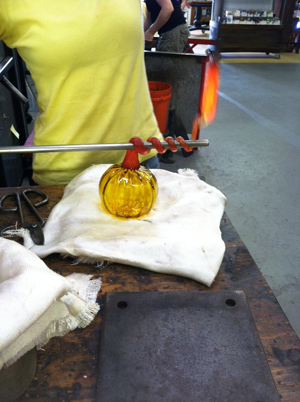
…and quickly wound to make the trademark curl
We then went into working on my piece – and though I was initially hesitant to ask for a flower shape, the instructor explained that it’s easy (of course it is, dear), and off we went. The process started basically the same (get exceptionally hot glass onto the end of a wand), although I had a mixture of colors that I dipped my glass into before I fired it further.
Dipping the glass in blue and violet to make my flower
To make the round shape I wanted for my paperweight, I got to use a wet wooden tool that basically looks like a giant soup ladle, and I held it against the hot glass while I rotated the wand. Of course, the heat from the glass gets to the point where it dries all of the water on the ladle tool, at which point you see sparks. Every time that would happen, I would need to stop, quickly dip the ladle tool into the nearby water bucket, and then continue the process of turning the glass against the wet wood.
Working the wooden ladle tool…
At one point, when it was time to make the flower “stem”, I was given what looked essentially to be an awl and just straight-on poked a hole in the top of the glass. I also was handed a pair of pincers that I used to pinch off the top of the glass, creating enough of a break that we’d eventually be able to separate the paperweight from the wand. The shaping process all set, we moved my piece to the table where I got to work the torch on the top to seal things off a bit, and then my piece was also moved into the über-hot oven to cool off over the next few days.
…and then the pincers…
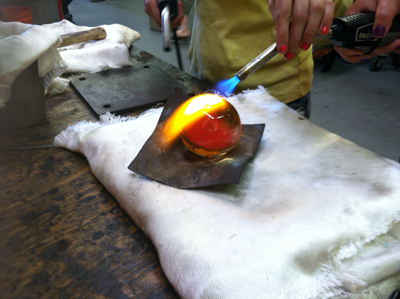
…and then a torch!
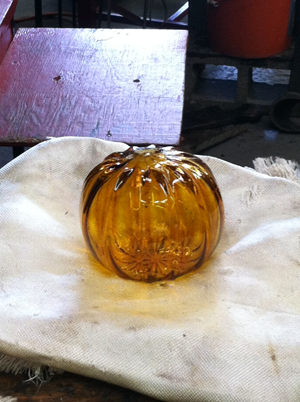
As you can tell from these pictures, the colors don’t look a thing like what we’d asked for. This is because the glass is eleventy kajillion degrees Fahrenheit. We were assured that they’d look just as we’d requested when they were fully cooled. I also know that I skipped at least a few descriptions of “and then we put the glass back into the heat-only oven, which runs on the order of about 2000F, IIRC”, but that’s just because it’s incredibly hard to take notes while doing glass-blowing.
When I came to pick up the items a week later (most items are ready for pickup only a few days later), I was taken aback at how gorgeous both pieces were. Given that neither my sister nor I ever had any experience blowing glass and neither of us had a clue of how to make glass art, it was a revelation that – with the appropriate instruction and assistance – in less than an hour we could make these incredible pieces. Each one is a work of art in its own way, and both of us feel like that was a totally cool experience that we would ABSOLUTELY do again.
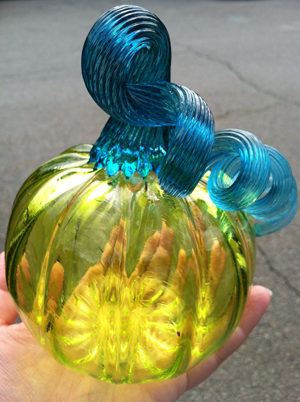
My sister’s gorgeous pumpkin: lime green with a teal stem
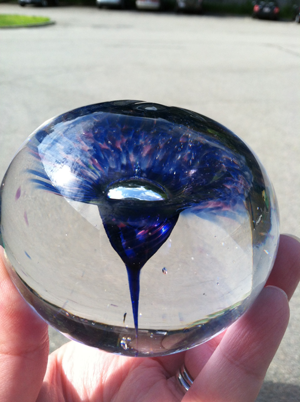
My lovely paperweight – a side view of the stem
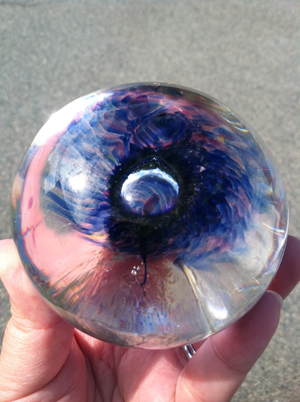
…and a view from the top of the flower effect and a pretty bubble trapped forever
A couple of observations:
1) It’s incredible to me how many of the tools and techniques probably haven’t changed in hundreds of years. The wooden ladle tool, the use of water, the metal pincers…none of these things look like they’ve changed in forever, and yet the technology appears to need no improvement.
2) I’m not a big fan of heat, so I can imagine that I’d be pretty parched after doing this for three hours (workshops come in 1hr and 3hr lengths). I suspect that having the ability to put water nearby for when I’m not actively working with glass would be a good idea for longer classes.
3) The instructors at Luke Adams Glass continue to be phenomenal. At no point did I ever feel worried for my safety or completely lost in what I was supposed to do; in the cases where the instructor felt she needed to assist to correct technique, finish off a tricky part or provide a second pair of hands, she was RIGHT THERE.
As far as having a fun, well-managed and inexpensive way to make art with friends or family, this totally fit the bill. I’m definitely looking forward to getting back to the studio again sometime in the near future so that I can have more fun playing with glass. I was impressed by how easy it was to make these gorgeous pieces, and I’m absolutely planning to go back for more.
Disclaimer: Neither Groupon nor Luke Adams Glass provided anything in exchange for this post; I wrote this on my own, under my own steam, and solely because I WANTED TO WRITE THIS TO SHOW MY SUPPORT OF A WICKED COOL LOCAL BUSINESS. The Groupon deal used to take this class was paid for 100% by me and my sister, without any additional offsetting by a third party. All opinions expressed above are my own.